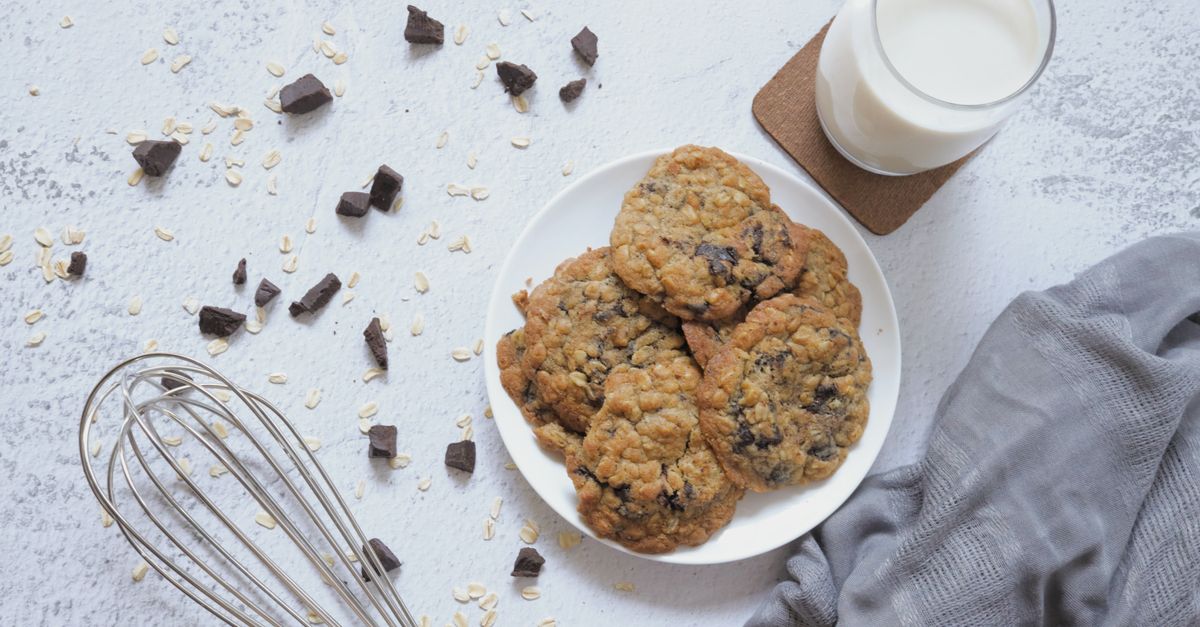
Why Your Homemade Cookies Are Flat (And The Simple Fixes That Guarantee Perfect, Puffy Results Every Time)
There’s nothing quite as disappointing as pulling a fresh batch of cookies out of the oven, only to find they’ve spread into sad, thin discs instead of the plump, chewy delights you envisioned. I’ve been there countless times, scraping thin, greasy cookies off baking sheets, wondering what went wrong. For years, I blamed my oven, my flour, even the phase of the moon. But through countless experiments and a deep dive into baking science, I discovered that the culprits are almost always the same, and the fixes are surprisingly simple. It’s not about magic; it’s about understanding a few fundamental principles. You don’t need fancy equipment or a professional kitchen; you just need to avoid these common pitfalls.
Key Takeaways
- Ensure your butter is truly cold, not just cool, to prevent premature spreading and promote structure.
- Chill your cookie dough for at least 30 minutes to firm up fats and allow gluten to relax, resulting in less spread and better texture.
- Avoid overcrowding your baking sheet and preheat your oven adequately to ensure even heat distribution and proper cookie setting.
- Measure your flour by weight, not volume, to prevent adding too little, which leads to overly thin cookies.
The Silent Killer: Warm Butter (And Why Cold is King)
In my early baking days, I thought “room temperature butter” meant soft, easily malleable butter. The mistake I see most often, and one I made for years, is using butter that’s too warm – often, it’s already slightly melted. When butter is warm or partially melted, it has no structure to hold the cookie dough up. As soon as that dough hits the warm baking sheet and then the hot oven, the butter immediately liquefies and spreads out, taking your cookie with it.
What changed everything for me was understanding that cold butter provides structure. Think of butter as the scaffolding of your cookie. When it’s cold and firm, it slowly melts in the oven, creating steam that helps leaven the cookie and build height. This slow melt also allows the other ingredients time to set before the butter fully releases, giving your cookies that desirable thickness. My recommendation? Use butter that is truly cold, directly from the fridge. Some recipes even call for frozen grated butter, which works wonders for preventing spread. If you’re creaming butter and sugar, do it quickly, just until combined, to avoid warming the butter too much.
The Neglected Step: Chilling Your Dough (It’s Not Just for Flavor)
Many recipes suggest chilling cookie dough “if time allows,” implying it’s an optional step. This is a huge misconception. In my experience, skipping the chill is a guaranteed path to flat cookies. Chilling dough isn’t just for developing flavor (though it certainly helps with that); it’s crucial for the physical structure of your cookies.
When you chill dough, two main things happen: First, the fats (butter, shortening) solidify. This means when the cookie goes into the hot oven, it takes longer for these fats to melt, giving the cookie more time to set and puff up before spreading. Second, the flour fully hydrates, and the gluten strands relax. This results in a more tender, less crumbly cookie that holds its shape better. I aim for a minimum of 30 minutes of chilling, but 2-4 hours is ideal, and overnight is even better. I’ve found that even a quick 15-minute stint in the freezer can make a noticeable difference if I’m really in a rush.
The Overcrowding Fiasco: Give Your Cookies Room to Breathe
It’s tempting to cram as many cookie dough balls as possible onto a single baking sheet, especially when you’re eager to get them baked. However, this is a surefire way to get flat, unevenly baked cookies that spread into each other. What happens is that the cookies release steam as they bake, and if they’re too close, this steam gets trapped, elevating the humidity around them. This humid environment hinders proper browning and can cause them to spread more.
Beyond that, overcrowding lowers the overall temperature of the baking sheet, especially if your oven isn’t perfectly calibrated or lacks powerful convection. When I started baking only 6-8 cookies per standard baking sheet, leaving at least 2 inches between them, the change was dramatic. Each cookie had ample space for air circulation, baked evenly, and developed a beautiful golden edge without melding into its neighbors. It might mean more batches, but the quality of each cookie will be vastly superior.
The Flour Factor: Measuring by Weight, Not Volume
Ah, the infamous cup of flour. This is arguably the most common baking mistake, and one that leads directly to flat cookies. When you scoop flour directly from the bag with a measuring cup, you compact it, meaning you end up with significantly more flour than the recipe intends. Conversely, if you spoon and level, you might accidentally use too little, which is often the case for flat cookies.
Too little flour means less structure. Flour provides the gluten network that holds the cookie together. Without enough of it, the dough simply can’t resist the spreading force of melting butter. My biggest breakthrough was investing in a digital kitchen scale and measuring flour by weight (grams are most accurate). A cup of all-purpose flour typically weighs around 120-128 grams. If your recipe calls for 2 cups of flour and you’re only using 200 grams because you’re spooning and leveling too lightly, you’re missing a significant amount of structural support. Always check your recipe for weight measurements, or look up the standard weight for a cup of your specific flour type.
Oven Temperature Lies: Preheating is Non-Negotiable
Your oven might say it’s preheated, but is it really? Many ovens beep to signal they’ve reached the set temperature, but the internal temperature can still be fluctuating significantly, especially after you open the door to place your cookies in. A slightly under-temperature oven means your cookies will sit on a warm baking sheet for longer before the heat is intense enough to set their structure. This extended ‘warm-up’ time leads to more spreading before the cookie has a chance to firm up.
What truly works is to preheat your oven for at least 20-30 minutes after it signals it’s ready. This allows the oven to stabilize at the correct temperature, and importantly, it fully heats your baking sheets if you place them in the oven during preheating. A hot baking sheet can actually help create a slight initial crispness on the bottom, setting the edges and minimizing spread. I even use an oven thermometer to double-check my oven’s accuracy; many ovens run hotter or colder than their display indicates.
The Dough Consistency Conundrum: Too Wet, Too Sticky
Sometimes, despite all best efforts, the dough itself is the problem. If your dough is too wet or sticky, it’s simply going to spread more readily. This can happen for a few reasons: too much liquid (like eggs or vanilla extract), too little flour, or even high humidity in your kitchen.
What changed my approach was learning to trust my instincts on dough consistency. A good cookie dough should be firm enough to roll into a ball without sticking excessively to your hands, but not so dry that it crumbles. If it feels too wet, resist the urge to add more flour without measuring. Instead, consider adding 1-2 tablespoons of cornstarch (for chewiness) or an extra tablespoon of flour, chilled and then reassessed. Also, make sure your eggs are at room temperature as cold eggs can prevent proper emulsification and lead to a looser dough. In my experience, a slightly stiffer dough, even one that requires a bit more effort to roll, yields a significantly better, puffier cookie.
Frequently Asked Questions
Why are my cookies always thin and crispy, even if I want them chewy?
Your cookies are likely thin and crispy because of one or more of the issues discussed: warm butter, insufficient chilling, too much spread due to overcrowding, or incorrect flour measurement leading to a weak structure. For chewy cookies, ensure cold butter, thorough chilling, and precise ingredient measurement, especially flour. Sometimes, using a mix of brown sugar and granulated sugar (more brown for chewiness) and adding a touch of cornstarch can also help achieve a chewier texture.
Can I fix flat cookie dough once I’ve already made it?
Yes, often you can! The most effective fix is to thoroughly chill the dough for at least 2 hours, or even overnight. This will re-solidify the butter and hydrate the flour. If the dough still seems too wet after chilling, you can carefully mix in 1-2 tablespoons of additional flour (measured by weight, not volume) or cornstarch until it reaches a firmer, more manageable consistency. Then, re-chill for at least 30 minutes before baking.
Does the type of baking sheet affect how much cookies spread?
Absolutely. Dark-colored baking sheets absorb more heat, which can cause cookies to spread faster and brown more quickly on the bottom. Light-colored, heavy-gauge aluminum baking sheets are generally preferred as they conduct heat more evenly and gently, promoting consistent baking and less spread. I always recommend using parchment paper or silicone mats, which not only prevent sticking but also provide a slight insulating layer, further helping to control spread.
Is baking soda or baking powder better for puffy cookies?
Both baking soda and baking powder are leavening agents, but they function differently. Baking soda reacts with acidic ingredients (like brown sugar, buttermilk, or cocoa powder) to create carbon dioxide, which gives lift. Baking powder contains its own acid and is often double-acting, meaning it creates gas twice: once when mixed with liquid and again when heated. For consistently puffy cookies, a balanced combination of both, or choosing the correct one based on the recipe’s acidity, is key. If your recipe is acidic, baking soda is crucial. If not, baking powder is more effective for general lift. Avoid using too much of either, as it can lead to a metallic taste or excessive spread and then collapse.
My cookies still spread even after chilling the dough. What else could be wrong?
If chilling isn’t solving the problem, re-evaluate your butter. Are you sure it’s cold, or did you cream it for too long, warming it up? Also, check your flour measurement by weight. Too little flour is a huge culprit. Finally, confirm your oven temperature with an oven thermometer and ensure you’re preheating for a long enough time to stabilize the heat. Over-greasing your baking sheets can also cause excessive spread, so use parchment paper or silicone mats instead of butter or cooking spray directly on the sheet.
In my journey, these simple adjustments to how I handle ingredients, especially butter and flour, and how I prepare my baking environment, have transformed my cookie game. It’s a testament to how small, informed changes can lead to consistently perfect, puffy cookies every single time.
Written by Sarah Chen
Home Organization & Sustainable Living
A former community organizer, Sarah brings a passion for connecting people with practical solutions.
You Might Also Like

Why Most Meal Delivery Services Fail You (And What Actually Works for Effortless Eating)
Discover why meal delivery services often disappoint and learn the counter-intuitive strategies that deliver genuinely effortless, delicious meals.

Why Your Home Humidifier Isn't Working (And The Simple Fixes Most People Miss)
Discover why your humidifier isn't working and common mistakes. Learn simple, effective fixes for consistent home comfort and better air quality.
Why Your Home Humidifier Isn't Working (And The Simple Fixes Most People Miss)
Troubleshooting your humidifier? Learn common reasons for malfunction and simple, non-obvious fixes to restore optimal performance and comfort.